0
Downloads today
175
Downloads total
0
Comments
description
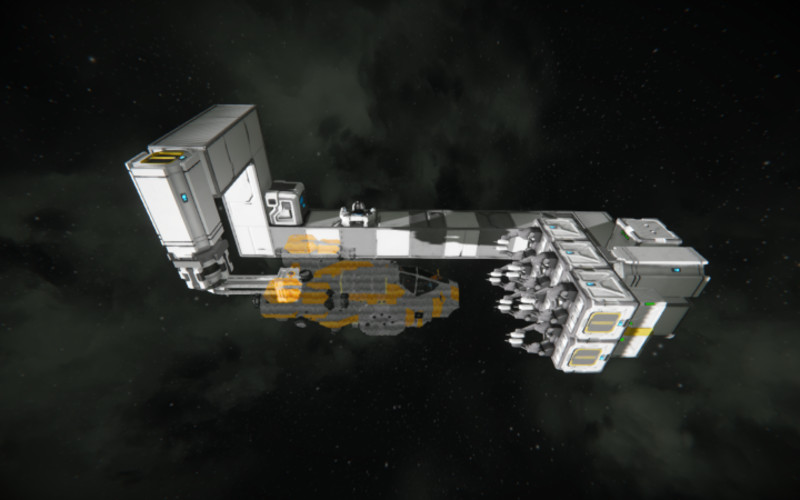
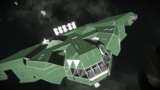
An example set up for a small ship factory that is able to print all the small grid I.S.L. ships.
Due to some weirdness when placing this blueprint into a projector (The small grid projector head would always be seen as the "main grid" and so only that would show up as projection) this blueprint no longer includes that sub-grid. Instead you will find it here, so you will have to add a small head to the rotor, place your projector on it and weld up that projection.
Controlling the Welder Piston:
Use the buttons in the control seat toolbar:
Toolbar 1
1.
2. Welders On/Off (you will have to construct these separately if building in survival, as projectors can't project sub-grids)
3.
4. Welder Piston - Reverse
5. Welder Piston - Decrease Minimum Distance
6. Welder Piston - Increase Minimum Distance
To print a ship:
- Once you have you projection lined up and are ready to print, extend the welder-piston with 4 on the control seat toolbar (with welders off) and increase the minimum distance to 10m.
- When the piston is fully extended, turn on the welders and wait until they have finished building the first layer. The time this takes will depend on your world's welding speed multiplier.
- Now that the first layer is complete, press 4 again to reverse the piston so that is is now retracting. It should not yet move, as the minimum distance is the same as the maximum extension.
- press 5 once to allow the piston to retract slightly and wait for the next layer to be printed, then repeat until the ship is finished.
- Once all blocks have been welded up, turn the welders off and climb into the ship (also add ice if it is a hydrogen ship). It should now be safe to turn off the merge block and fly/drive your ship/vehicle.
- If the printer is high off the ground, and you have printed a rover, you can extend the piston that the projector/rotor is on to lower your new vehicle safely before detaching
Credits
-
24 Sep 19:12Version 1.0
Files

24.09 2020
Empfehlungsrate
-/-
noch nicht genug Stimmen
Do you think this mod should be featured?
Mod abonnieren
0 Comments for ISL - Small Ship Printer Basic MK 3